High-Protein Vegan Recipes (20–40g Plant-Based Protein Meals)
Looking for high-protein vegan meals that actually keep you full?
Finding plant-based recipes that offer a substantial amount of protein without feeling incredibly heavy can sometimes feel like a challenge, but it is completely possible with the right ingredients.
This complete guide delivers 20–40g of protein per meal, making it easier than ever to hit your daily nutritional goals.
Whether you are searching for options focused on sustainable weight loss, clean muscle growth, fast weeknight dinners, no-cook lunches, batch meal prep, or even protein-packed smoothie recipes that taste like dessert, you will find exactly what you need below.
Achieving a high-protein intake on a plant-based diet doesn’t require relying solely on processed supplements.
By incorporating whole food staples like tofu, tempeh, seitan, high-protein pasta, soy curls, edamame, beans, chickpeas, and lentils into your daily routine, you can easily create delicious, satisfying meals that fuel your body perfectly.
What Counts as a High-Protein Vegan Meal? (20–40g Protein)
Every recipe listed here contains at least 20 grams of plant protein. Building these balanced, nutrient-dense plates is incredibly simple when you approach your meal planning with a few core components in mind.
Focus on a Rich Protein Base
To hit the 20 to 30-gram mark effortlessly, you want to start with a strong foundation.
Excellent sources include extra-firm tofu, tempeh, seitan, high-protein legume-based pastas, soy curls, lentils, beans, or a clean vegan protein powder for quick snacks.
Add Complex Carbohydrates
Pairing your protein with complex carbs ensures that your energy levels stay stable throughout the day.
Opt for nutrient-dense options like quinoa, brown or wild rice, baked potatoes, sweet potatoes, and various whole grains.
Incorporate Healthy Fats
Healthy fats are essential for nutrient absorption and keeping cravings at bay.
You can easily boost the satiety factor of any meal by tossing in a drizzle of tahini, sliced avocado, or a handful of raw nuts and seeds like hemp, chia, or flax.
Fill Up on Flavors and Volume
Finally, round out your plate with plenty of fresh veggies, vibrant spices, fresh citrus juices, herbs, and delicious low-calorie sauces. This simple formula ensures great satiety, stable energy, and balanced macros without overthinking it.
Table of Contents
Please take a look at the comprehensive breakdown below to find your next favorite meal.
Use the handy table of contents to jump straight to the specific meal category you are craving today, whether you need a quick 15-minute dinner or prep for the week ahead.
- High-Protein Vegan Salads & Bowls
- High-Protein Vegan Dinners
- Fast, No-Cook & Budget Meals
- 15-Minute High-Protein Vegan Meals
- High-Protein Vegan Breakfasts
- High-Protein Smoothies & Shakes
- High-Protein Vegan Snacks & Desserts
- High-Protein Meal Prep & Meal Plans
- Vegan Protein FAQs
High-Protein Vegan Salads & Bowls (20–40g Protein)
These salads and bowls deliver high volume + high protein, ideal for weight loss, meal prep, and busy weekdays. Expect 20–40g protein using chickpeas, tofu, beans, and high-protein grains.
- 15 High Protein Salads (Easy, Vegan)
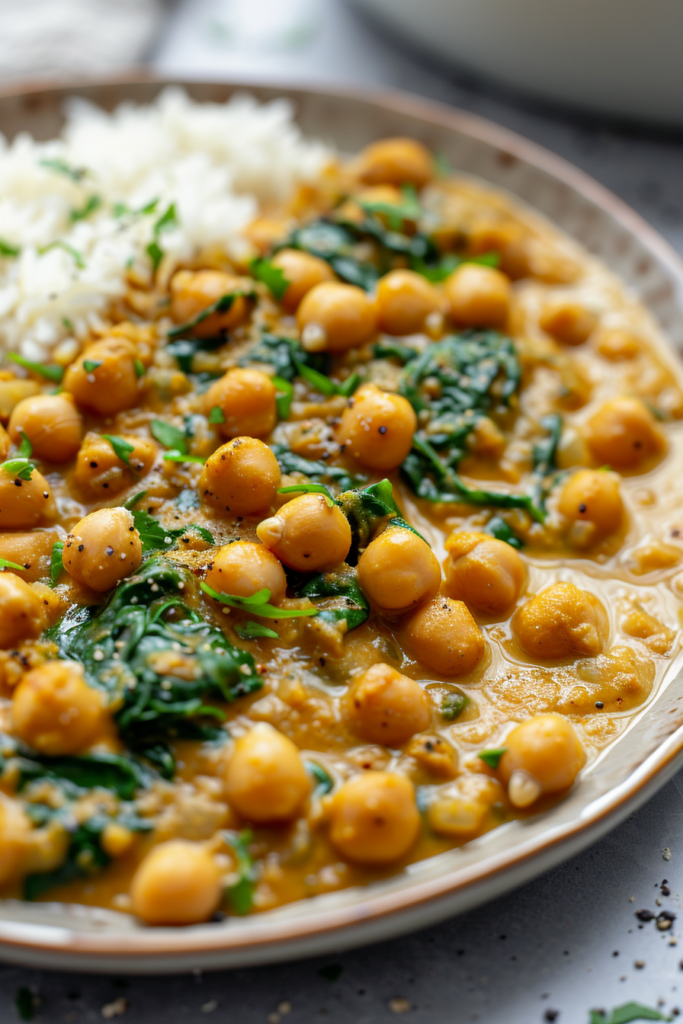
- 15 High-Protein Chickpea Recipes (20g–40g Protein)
- 15 High-Protein Vegan Meals for Weight Loss
- 3 Copycat High-Protein Vegan Bowls (Chipotle, Cava, Sweetgreen)
- 7 High-Protein Pasta Salad Recipes (Vegan & Delicious!)
- Easy High Protein Hummus (3 Ways)
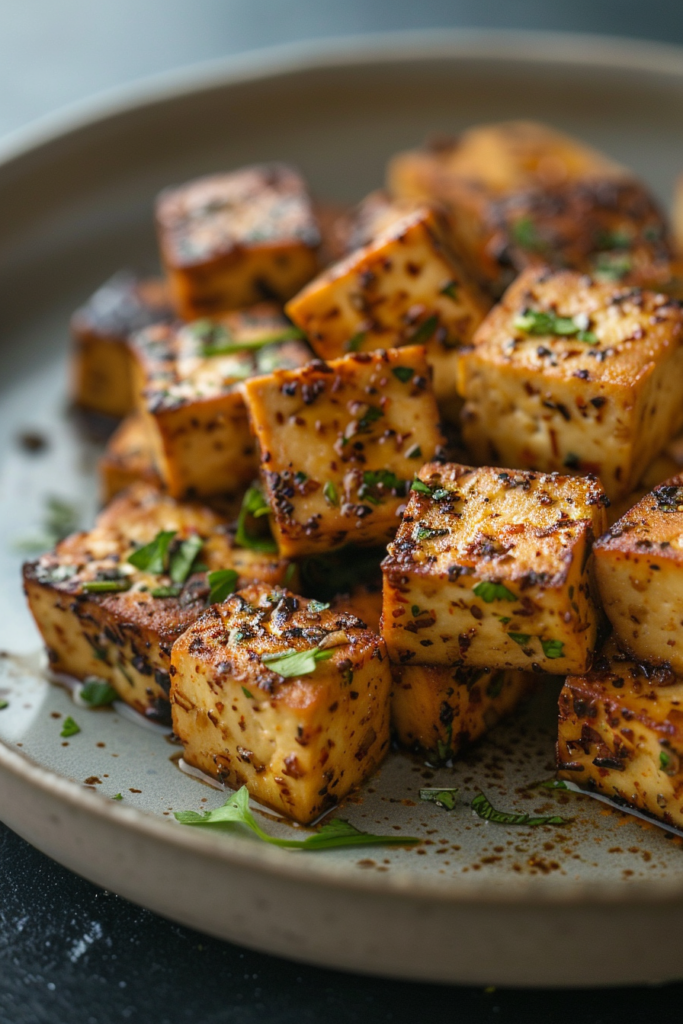
- 10 Easy Tofu Marinades: Make Your Protein Delicious
High-Protein Vegan Dinners (25–40g Protein)
These dinners are comforting, filling, and family-friendly while packing in serious protein from tofu, tempeh, seitan, beans, lentils, and high-protein pasta.
- Vegan Protein Mac and Cheese Recipe That Actually Tastes Good
- Easy Vegan Tofu Bolognese (30 Minutes, High Protein & Oil-Free)
- High Protein Vegan Chili (34g PROTEIN!)
- High Protein Ramen Recipe
- Thai Noodle Soup Recipe (high protein, vegan, oil free)
- 7 High Protein Recipes for Dinner That Will Satisfy Your Hunger
- 14 High-Protein Seitan Recipes (Easy + Delicious)
- 14 High Protein Healthy Meals (Vegan-Friendly & Delicious)
- High-Protein Vegan Air Fryer Dinners (20–35g)
- 5-Ingredient High-Protein Vegan Dinners
Fast, No-Cook & Budget High-Protein Vegan Meals
Perfect for work lunches, travel, or saving money — these meals require no cooking or cost under $3 per serving while still delivering 20–30g of protein.
- High-Protein No-Cook Vegan Meals for Work
- High-Protein Vegan Budget Meals Under $3
- 30g Protein Vegan Meals
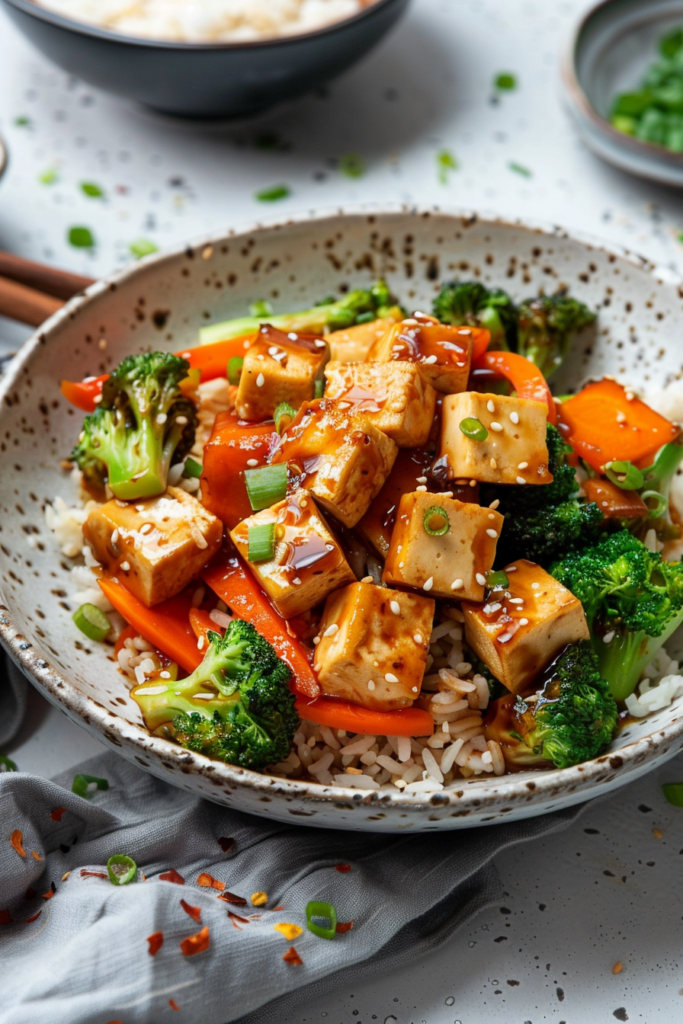
15-Minute High-Protein Vegan Meals (20–35g Protein)
Short on time? Get takeout-level flavor in 15 minutes or less with these fast, protein-packed meals.
- 15-Min High-Protein Stir Fry (Vegan, Easy)
- 15 High-Protein Vegan Meals for Weight Loss (quick options included)
High-Protein Vegan Breakfasts (20–35g Protein)
Start strong with breakfasts that deliver sustained satiety, stable energy, and 20–35g protein using oats, tofu, nuts, seeds, and protein powder.
- Vegan Protein Pancake Recipe
- High-Protein Overnight Oats (7 Flavors, 25–35g Protein)
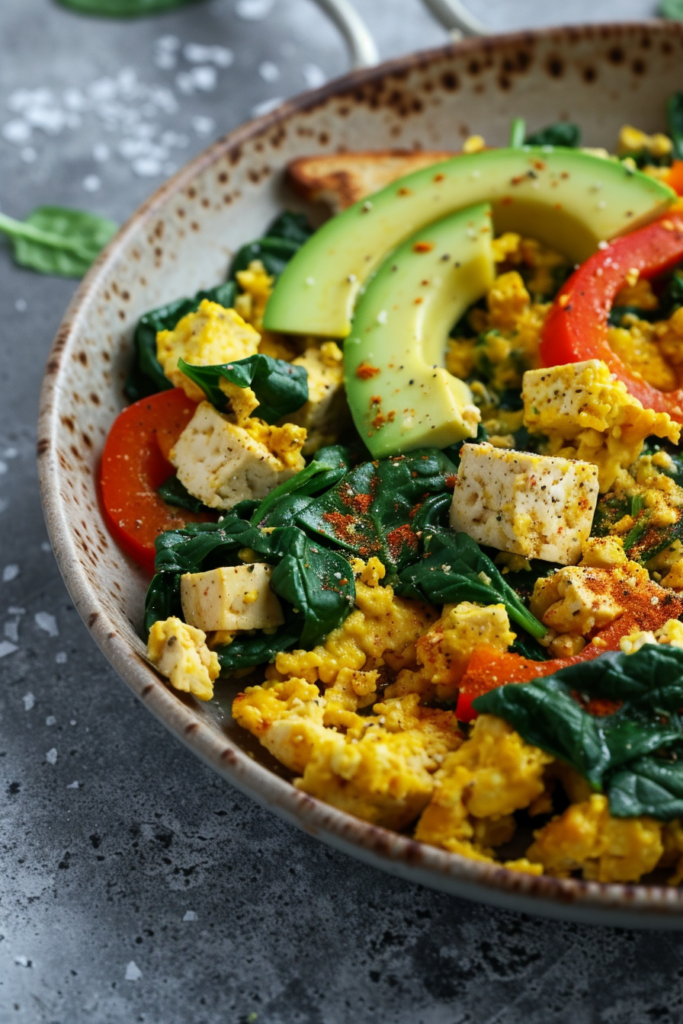
- Easy Vegan High Protein Breakfast Bowl
- 10 Protein-Packed Vegan Breakfast Recipes to Energize Your Morning
High-Protein Smoothies & Shakes (30–40g Protein)
These smoothies taste like dessert but pack 30–40g of complete protein for post-workout recovery or meal replacement.
- Ultimate Muscle Building Vegan Smoothie (37g protein)
- Coffee Protein Shake: The Ultimate Energy-Boosting Recipe
- Strawberry Cheesecake Protein Shake (35g Protein | Vegan)
- Chocolate Peanut Butter Protein Shake (40 Protein)
- 30g PB Cookie Dough Shake (Easy Vegan)
- 20 Vegan Protein Smoothie Recipes (High-Protein, Easy)
High-Protein Vegan Snacks & Desserts (10–30g Protein)
Stay full between meals with portable protein snacks and dessert-like treats made with nuts, oats, seeds, and beans.
- The Ultimate Guide to Protein Energy Balls (4 Ways!)
- 10 High-Protein Vegan Snacks on the Go
- 15 Low-Calorie High-Protein Snacks (Vegan)
- 3 High-Protein Vegan Cheesecake Recipes You Need to Try
High-Protein Meal Prep & Vegan Meal Plans (80–120g/Day)
Hit your daily protein goal effortlessly with complete, macro-balanced weekly plans.
- Vegan High Protein Meal Plan [120 g Plant Based Protein]
- 80 Grams of Protein a Day {Meal Plan}
- 10 High-Protein Lunch Ideas (Easy Vegan)
- 10 High-Protein Vegan Sandwiches (Easy Meal Prep)
Vegan Protein FAQs
How much protein do vegans need per day?
Most adults thrive with:
| Goal | Protein/Day |
|---|---|
| Weight loss | 60–80g |
| Maintenance | 70–100g |
| Muscle building | 90–120g |
Top high-protein vegan foods (per serving)
- Tempeh: 22g
- Seitan: 20–25g
- Tofu: 14–20g
- Lentils: 18g
- Edamame: 17g
- High-protein pasta: 15–25g
- Vegan protein powder: 20–30g
Can you build muscle on a vegan diet?
Yes — with:
- 90–120g protein/day
- 20–40g protein per meal
- strength training + progressive overload
- enough carbs + sleep